
Algorand Cloud Node installation
Cloud Algorand node
Quick and dirty ;)
Who is this guide for?
Anyone who wants to set up an Algorand node in the cloud quickly.
This guide focuses on ease of installation and will not make you an expert in Linux or Algorand node setup. Security best practices are addressed at the end of the guide — do not skip them.
You might want to go through native staking F.A.Q. first.
What is the end result?
By following this guide, you will end up with a cloud Ubuntu Linux under $30/mo at SpeedyPage.com running a synchronized Algorand mainnet node that is :
- Self-updating
- Reporting telemetry to Nodely
- Ready for participation configuration (key registration)
Any extra steps after this?
If your plan is to participate in incentivized decentralization, then there will be a few extra steps:
- Registering your account online with a key-reg transaction.
- Subscribing to alerts to get notifications when your node misbehaves.
- Reading up on how all this voting stuff works.
THE GUIDE
Step 1: Getting the cloud VM
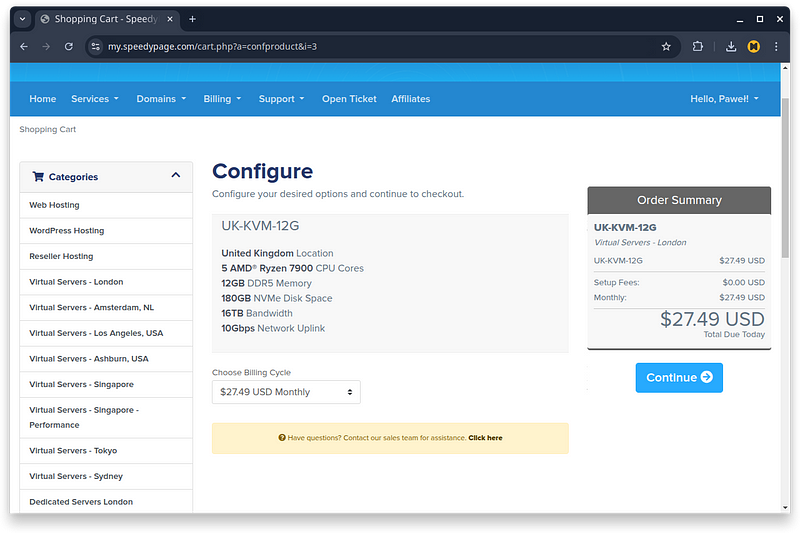
Go and set up an account with SpeedyPage.com. They have a nice choice of locations and top-tier performance, and most importantly, they are Algorand staking-friendly. Once your account is ready proceed to “Order New Services” and choose the KVM-12G in the location of your choice. Note some regions might be more expensive.
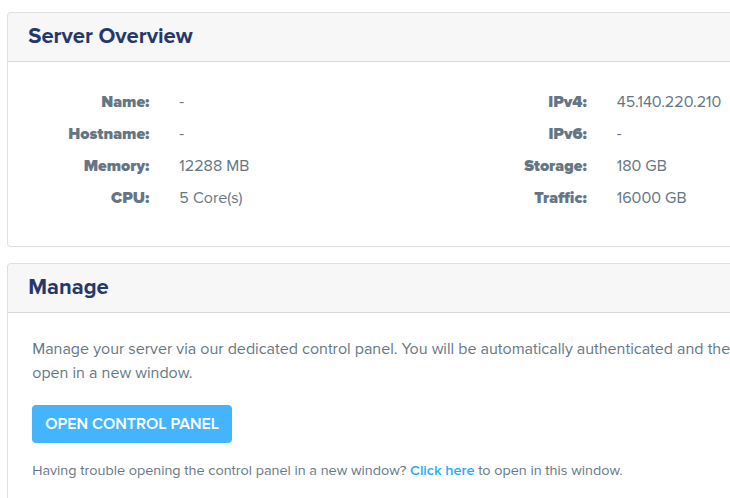
Once subscribed, go to Client Area and click on the green “Active” button next to your service and then click the “Open control panel” button.
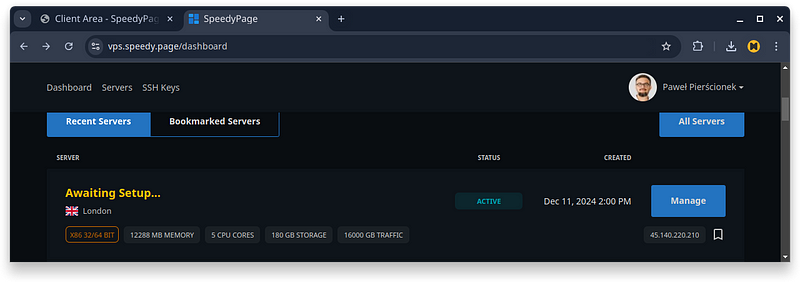
This will take you to VM management panel where you should click the “Manage” button next to your VM that is “awaiting setup” .
Step 2: Setting up your VM
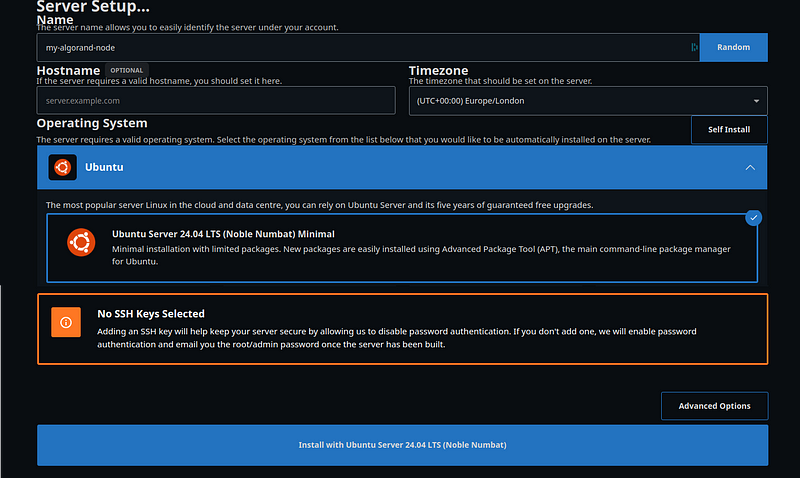
Give your server a name and chose your time zone.
Next pick the Ubuntu 24.04 LTS (Noble Numbat) as the Operating System and leave the “No SSH Keys Selected” - this will be fixed later. Press “Install“ and observe how SpeedyPage installs Ubuntu in 5 seconds.
Step 3: Installing the Algorand node
You should get an email with the root password in your inbox.
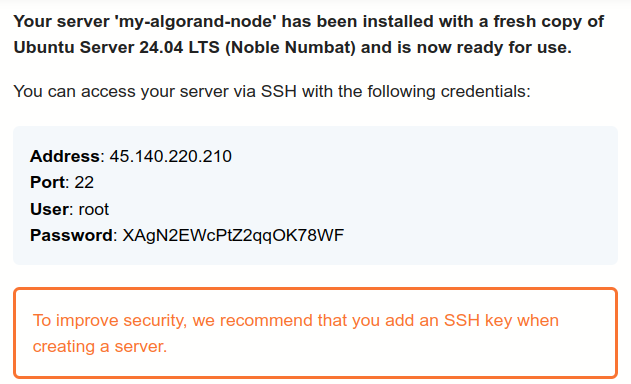
Now use your favorite SSH client to log into the VM.
Command line SSH client (eg on Windows/Mac terminal app) can connect like this:
ssh -o PreferredAuthentications=password [email protected]
Provide the root password from your email.
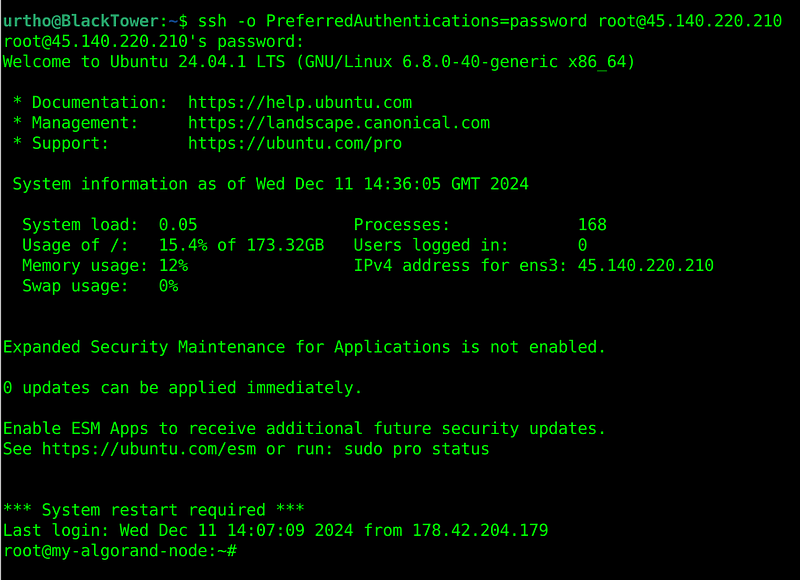
You can now install the node. Copy paste the following into the terminal for a quick install:
echo "export ALGORAND_DATA=/var/lib/algorand" >> ~/.bashrcsource ~/.bashrccurl -so /etc/apt/trusted.gpg.d/algorand.asc https://releases.algorand.com/key.pubadd-apt-repository -y "deb [arch=amd64] https://releases.algorand.com/deb/ stable main"apt-get install -y algorandsleep 20goal node catchup --forceThis will install the latest official Algorand node release and set it up to auto-update. The last command requests a fast catchup that should synchronize your node in under 2 hours (or 40 minutes in the case of your Speedy node).
You can watch the progress with the command below. The synchronization is finished when “Sync Time” says “0.0s”. Press Ctrl-C to get out.
watch goal node status
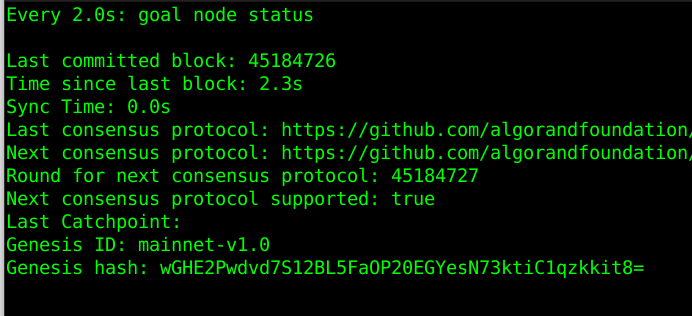
Step 4: Enabling telemetry
Once your node is synchronized, you can tell it to send diagnostic information to a free Nodely telemetry service. Follow the OG install section of the telemetry setup guide to enable it.
Remember to restart your Algorand node service afterward with :
systemctl restart algorand
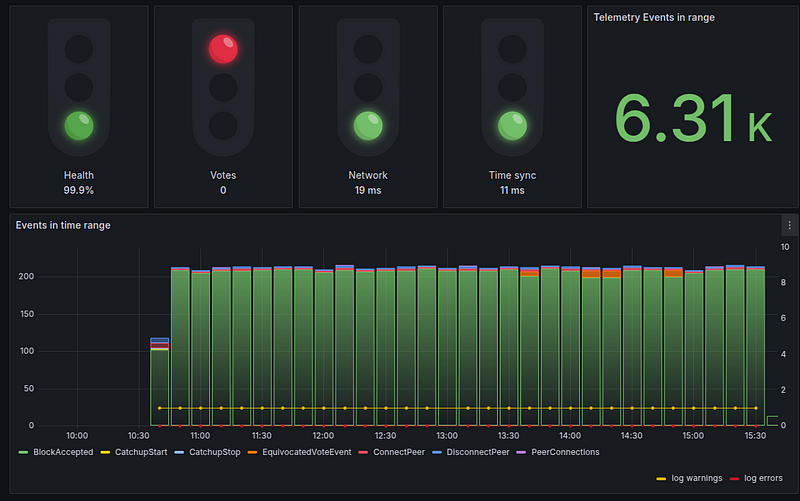
Step 5: Securing your node
Now, it is high time to add a user account to your Linux server and switch to SSH public key login.
Suggested next tsteps:
- Generate a new SSH private key
- Add a dedicated Linux user and enable SSH key-based login
- Disable remote SSH root access
- Backup your private SSH key
- Enable Firewall
- Enable multifactor authentication on the SpeedyPage portal
Follow the Windows guide here to generate a public SSH key and lock down your node. Linux and Mac users might also use the guide but probably with a few tweaks.
Once done, make sure to backup you key file (eg to Google Drive or OneDrive). Key is encrypted with your password so it is safe to store in the Cloud.
If you happen to lose your key, You can always get to your Cloud VM by going to SpeedyPage control panel, enabling remote VNC access, launching a browser VNC client, and using a password from the original email. It might also be a good idea to enable multifactor authentication on SpeedyPage panel.
Please log in as your new user and execute the following commands to make sure your node utils know what folder your node keeps its data in:
echo "export ALGORAND_DATA=/var/lib/algorand" >> ~/.bashrcsource ~/.bashrcFrom now on, most commands will require a sudo prefix so you can launch them with admin rights.
As the last step, let’s set up the firewall on your node. Execute the following commands to enable access only to SSH service.
sudo ufw allow sshsudo ufw enableConfirm yes when asked about possible SSH disconnection.
Connections to other services will now be rejected. This does not interfere with normal node operations as a validator but might need tweaking if you want your node to become a P2P relay in 2025. There will be a dedicated guide for that once this is possible.
Review and check all the steps outlined at the top of this step.
Step 6: Registering your stake
You now need to register your account for voting. Key registration information is public and safe to paste into wallets, helper tools.
You can register your account with any amount of Algo. You can start with just 1 Algo and transfer more to your registered account later on.
Here are the next steps:
- Registering your account online with a key-reg transaction.
- Subscribing to alerts to get notifications when your node misbehaves.
- Reading up on how all this voting stuff works.
This guide is also available on Medium
Step 7: Upgrading your node
Your node is already set up to periodically update the Operating System as well as Algorand node itself. You can check what is the latest available version of the node and if it is installed with this command:
sudo apt update && apt list algorand
#algorand/stable,now 3.27.0 amd64 [installed]
You can force the update now, without waiting for the daily upgrade window by :
sudo apt update && sudo apt install -y algorandThe node should restart itself if upgraded.
Step 8: Maintaining your node
Here are some helpful commands:
#check the version of your nodegoal -v
#restart your nodesystemctl restart algorand
#stop your nodesystemctl stop algorand
#start your nodesystemctl start algorand
#status of your nodegoal node status
#your participation key infogoal account partkeyinfo